
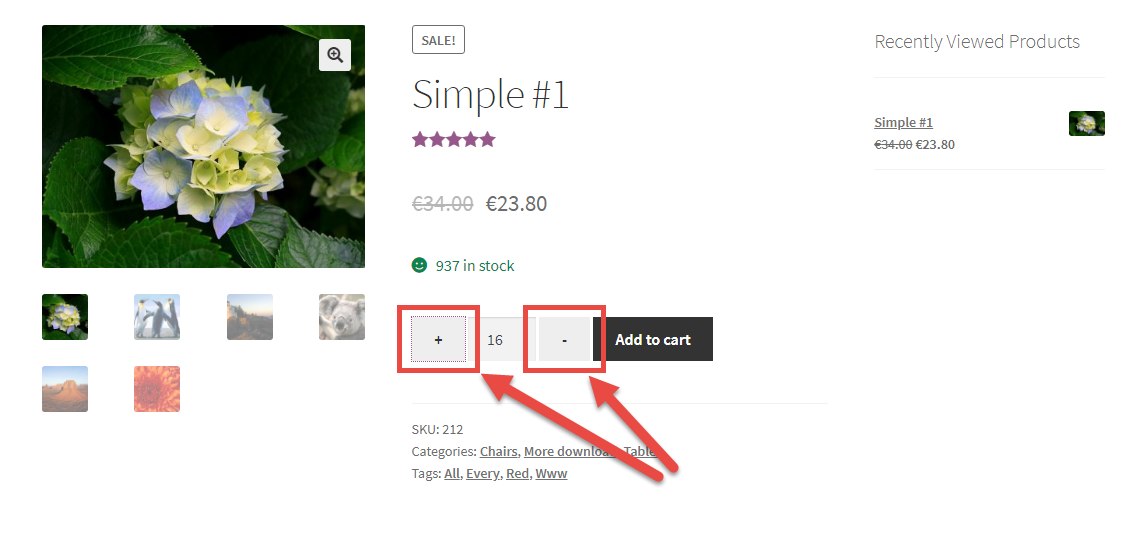
Here’s a quick snippet you can simply copy/paste to show a “+” and a “-” on each side of the quantity number input on the WooCommerce single product page.
This snippet comes with a jQuery script as well, as we need to detect whether the plus or minus are clicked and consequently update the quantity input. jQuery might look difficult to many, but the beauty of this is that you don’t need to have a degree in jQuery – just copy/paste and see the magic happen.
<?php
// 1. Show plus-minus buttons
add_action( 'woocommerce_after_quantity_input_field', 'jwc_display_quantity_plus' );
function jwc_display_quantity_plus() {
    echo '+';
}

add_action( 'woocommerce_before_quantity_input_field', 'jwc_display_quantity_minus' );
function jwc_display_quantity_minus() {
    echo '-';
}

// 2. Trigger update quantity script
add_action( 'wp_footer', 'jwc_add_cart_quantity_plus_minus' );
function jwc_add_cart_quantity_plus_minus() {
    if( ! is_product() && ! is_cart() )
        return;

    wc_enqueue_js("
        $( document ).on( 'click', 'button.plus, button.minus', function() {
            varqty = $( this ).parent( '.quantity' ).find( '.qty' );
            var val = parseFloat( qty.val() );
            var max = parseFloat( qty.attr( 'max' ) );
            var min = parseFloat( qty.attr( 'min' ) );
            var step = parseFloat( qty.attr( 'step') );

            if ( $( this ).is( '.plus' ) ) {

                if( max && ( max <= val ) ) {
                    qty.val( max ).change();
                } else{
                    qty.val( val + step ).change();
                }
            } else {

                if ( min && ( min >= val ) ) {
                    qty.val( min ).change();
                } elseif ( val > 1 ) {
                    qty.val( val - step ).change();
                }
            }
        });
    ");
}
?>
Leave a Reply